Amateur Remote Wildlife Photography
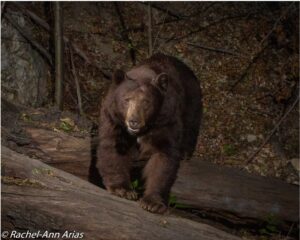
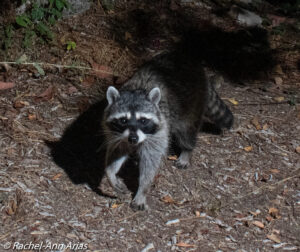
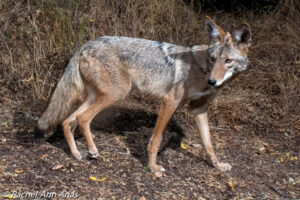
Many people are surprised to learn of the variety of wildlife that live in their own backyards. My name is Rachel-Ann Arias. A couple years ago my camera and I set out to discover who else called my home… their home. I discovered a whole new world that emerges late at night, when less people are around. But don’t worry, you can still observe, and take beautiful photos of wildlife without pulling all-nighters. By attaching a motion sensor to your camera, you will never miss a shot!
")
Bobcat Photo
(Captured by Remote Camera)

Homemade Motion-Sensor Camera
(camera + camera case + motion sensor)
Types of Remote Cameras
There are two types of remote (or motion-activated) cameras that I will show you here. One, is a homemade setup using a DSLR camera (like in the photo to the left). The other is called a trail camera. It is ready to go out of the box and uses a less advanced camera. Each system has it benefits:
DSLR Setup
high quality photos
control over camera exposure settings
color photos at night
Trail Camera
takes video and photos
longer battery life
quick and easy setup
Now that you know the two types of Remote Cameras, let’s learn how to use them!
There are three basic steps.
STEP 1: Gather Equipment
Here is what you’ll need to make your wildlife photoshoot successful no matter which type of remote camera you decide to use.
DSLR Setup
- Sensor- You will need to connect a sensor to a camera. The sensor can be motion, heat, or infrared triggered. Either way, when something walks by, the camera should take a photo or start a video. Much like a smart doorbell: https://ring.com/share/6782103876972029062
- Camera- Any type of camera will do the job! Just make sure it can plug into the sensor. I use DSLR cameras for high quality images, and control over camera settings.
- Weatherproof Camera Case- The best way to protect a fragile digital camera is by placing it in a sturdy, weatherproof box. When you have picked a sturdy container, cut a couple windows, for the lens and motion sensor.
- Flashes- You might also want to invest in a couple flashes so you can get good color images when it gets dark. A remote trigger for the camera to connect to the flashes is a good option as well. Place the flashes in weatherproof containers as well.
- Locks- For the safety of your camera equipment, use a cable lock to secure the camera to a tree, post, or boulder.
CAMERA

SENSOR

CAMERA CASE

FLASH

LOCKS

Here is a picture of Johanna Turner and I (left) with our gear for a DSLR setup: 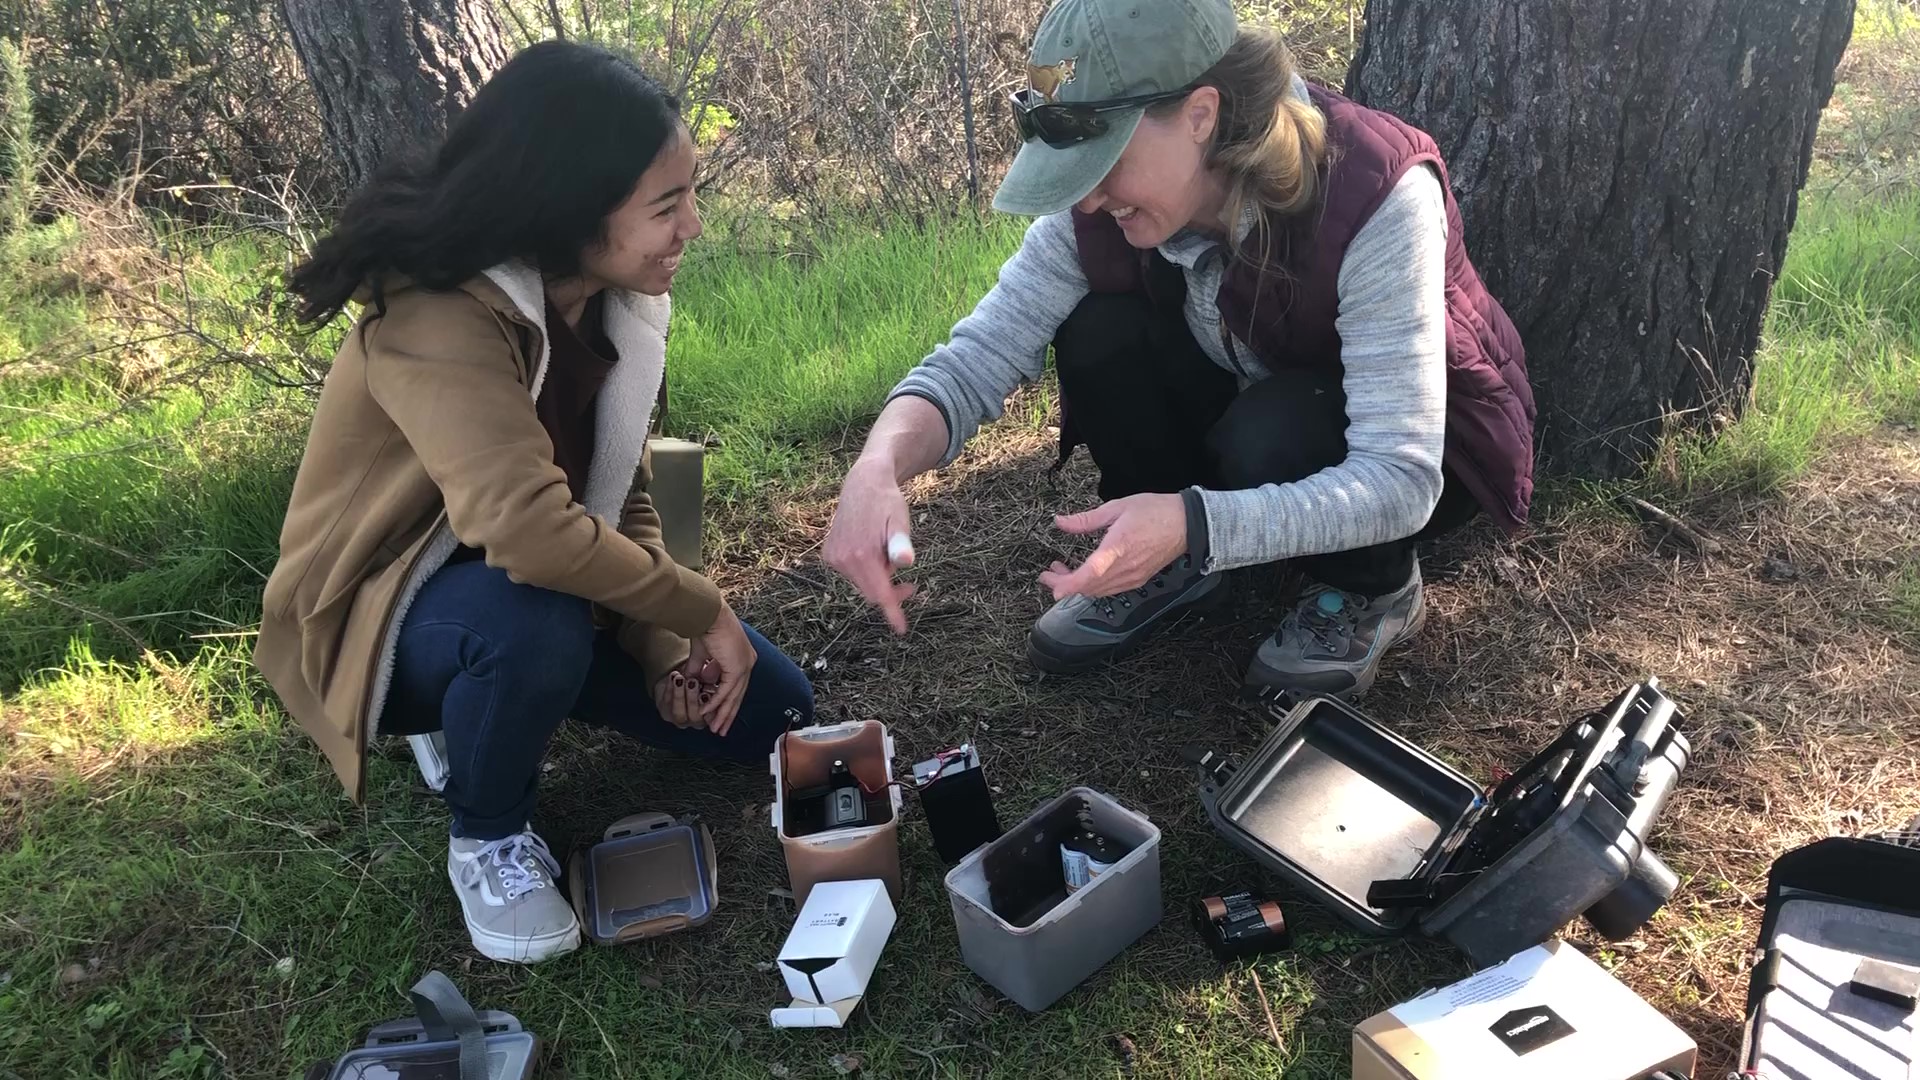
Trail Cameras
- The Trail Cam- Trail Cameras are purchased as cameras that already come with a sensor attached. Popular brands include Reconyx, Browning, and Bushnell.
- Cord/Strap- A way to secure the camera to trees or posts.
- Optional: A Metal Case– For maximum security, you can buy a metal case that comes with your trail cam.
TRAIL CAM

CAMERA STRAP

METAL CASE

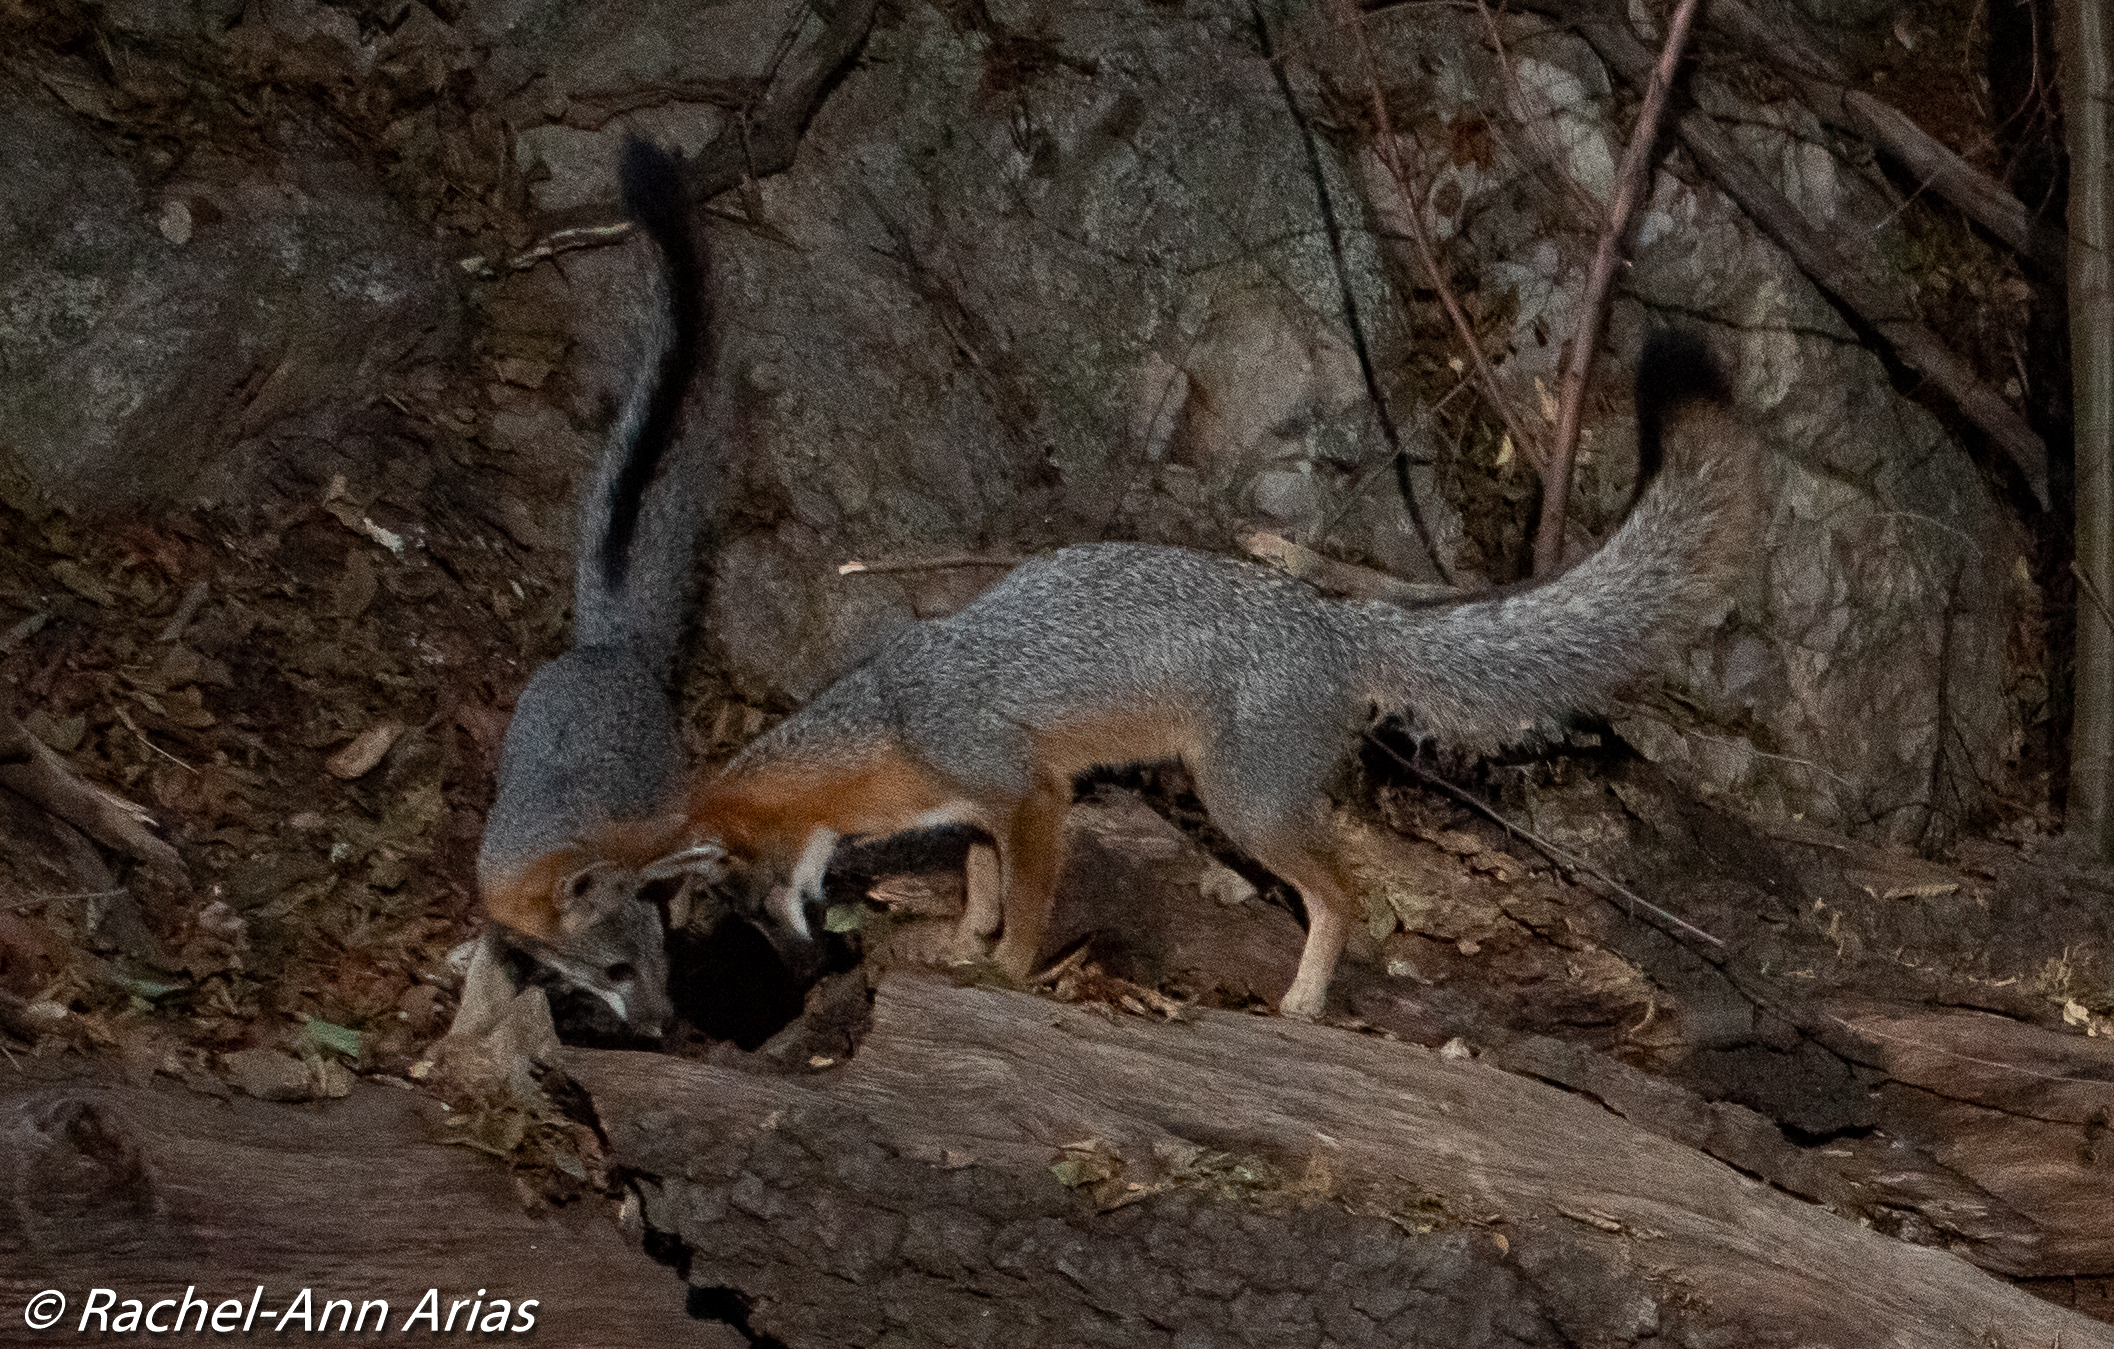
The best part about trail cams is that there is no big setup with flashes necessary. Also, many of these cameras take video, making it easy to see animal behavior. How fun would it be to capture a video like this of foxes playing?
Sometimes trail camera photos can be a little grainy in black and white. But this also means battery life can last up to a month allowing it to be placed in remote places!
Images from three popular types of trail cams are shown here:

BROWNING

RECONYX

BUSHNELL
STEP 2: Location
Now the fun begins! Where is the best place to put your camera? Ask yourself:
1: Where are the animals trying to go?
2: What is the easiest way for them to do that?
Often, it is easy to forget the second question. Animals like to take the path of least resistance, not rugged wild space in the bushes. If you are out on a hiking trail, place your camera facing one direction on the trail. Simply, find a tree and tie the camera on. (invest in a lock if the trail is public!) This way you will be able to see the animal coming towards the camera. Intersecting trails are also a great opportunity for capturing wildlife as there is double the chances of something coming by!

Here I am setting up a DSLR motion-sensor camera along a trail in cooks canyon. (This is where I got that picture of a bobcat you saw earlier.)
Watch this video where I setup both types of remote cameras at the Rosemont Preserve. I get incredible results!!

Placement
If you are in your backyard and are not sure what path wildlife passes through, start by setting up the camera facing the most open area. After you see something pass by, move the camera closer to that spot. In both cases try to lower the camera to about waist high and be mindful of the background. Here, Roshni Katrack-Adefowora sets up a camera in Cottonwood Canyon.
Security
Like I mentioned before, make sure you have everything in a weatherproof container. Once, my camera setup was attacked by not just the weather, but a bear! This big papa bear was annoyed with the flashes. He teared them down from the trees and put a nasty scratch right where the lens is. (Good thing I had a plexiglass covering!).


Framing
Framing is just as important in remote photography as it is in regular photography. Once you have picked your spot, attach the camera to a post or tree in a secure way. After that, you can adjust the framing. If you are using a trail camera, or cannot look through the viewfinder, take a couple steps back from your setup. Then, kneel down so that you are eye level with the lens. Now you can best tell where the camera is pointing and if it is crooked. Finally, do not forget to turn the camera on!
Here I am setting up a trail cam at the Rosemont Preserve.
STEP 3: checking for results
So now you’ve waited in anticipation for days. You race to your camera, snatch it off the tree, and skip home. When you plug the SD card into your laptop, you gasp! 400 photos!? Last time you checked there weren’t 400 squirrels in your yard running around all day.

Depending on the weather and type of sensor you have, wind photos can be annoying. Sometimes a falling leaf or moving bush can trigger the camera, but you see nothing. Sorting through photos might seem time consuming and tiresome. But I can promise you, the rush of catching a creature in the photo, gets you through the blank ones.

Although you might not get what you hoped for the first time, you can quickly learn the habits of wildlife in your area. I learned that even small animals like rabbits seem to have daily schedules. Most would pass my camera at the same time each day. Also, keep an eye out for tracks or scat on the trail! In the photo to the left you can see a paw print of a mountain lion circled. I spotted it walking along a trail with my dog. I just had to set up a camera at that spot!
I also learned to be appreciative of the little animals. The excitement of trying to get a bear on the camera can often make the little critters easy to dismiss. But the bird couple that bathes in the stream , or the bunny that visits every morning, are just as exciting to capture.

Scientific Applications of Trail Cameras
Did you know trail cams are used by researchers to document wildlife passage? AFC participates in the UWIN Project , a nation-wide study of urban wildlife created to inform urban planners, so they design with wildlife in mind. AFC places trail cams throughout their Hahamongna to Tujunga Wildlife Corridor study area. They see everything from lizards to Mountain Lions.
You can become a citizen scientist yourself by documenting the animals that pass through your yard or neighborhood using a trail cam. Check out how scientists around the world use trail cameras at: https://emammal.si.edu/. Setting up a camera for scientific purposes opens the door to many new discoveries about your local wildlife. This Camera Traps Curriculum teaches how you can create your own camera trap experiment.
.
Teaching Resources
.
.
.
.
.
.
I hope you have fun photographing your wild neighbors!
-Rachel-Ann Arias